| Table of Contents |
|---|
Overview
Through the Connected Accounts menu within your Prism the platform sidebar, users are able to save and set-up a selection of Vulnerability Scanning Solutions.
Please see Supported Vulnerability Scanning Solutions for a full comprehensive list.
Within Prismthe platform, under the Connected Accounts page you can choose from multiple scanning platforms that will integrate with Prismthe platform. Prism the platform will use the API configuration(s) defined within Connected Accounts to retrieve scan results from the defined scanning solution(s).
NOTE: By default, once external scanning solutions are defined, Prism the platform does not automatically retrieve scan results. Further configuration is required to either define auto-import tasks or manual importing of results. See Importing Third Party Results (Issues)for more information.
Step 1. From within Connected Accounts, select the Scanner Management button for one of the supported Vulnerability Scanning Solutions
Step 2. Select the blue + icon to define a new scanner to integrate with Prismthe platform
Step 3. The Create/Edit External Scanner modal is displayed where you can provide configuration details for scanner integration
Step 4. Depending on the supported Vulnerability Scanning Solution you chose in Step 1, you will be required to enter different configuration details as provided below.
Access Controls for
Prismthe Platform
It may be necessary to configure access controls to permit access from to the Prism application platform. This is necessary so that Prism the platform can establish an inbound connection to your scanning solution(s) and retrieve scan results.
Prism The platform uses a predetermined set of public IP addresses from which connections to any of your scanning platforms are established. Awareness of these Prism platform public IP addresses allows you to define more granular Source-based access policies/rules on your Internet firewall(s) or other associated access controls.
Please refer to this article for details of the Prism Platform’s the platform’s public IP addresses:
IP Addresses for Prism Platform
Tenable Nessus Professional
When integrating Prism the platform with one or more Internet-facing ‘standalone' Nessus Professional scanners, the following information must be supplied to Prism the platform to enable scan results to be retrieved from the Nessus Professional scanner(s). Prism The platform will communicate with each scanner’s Nessus Professional API to retrieve scan results.
| Info |
|---|
The guidance in this section assumes you have at least one Internet-facing Nessus Professional Scanner deployed. If you have deployed one or more standalone Nessus Professional Scanners on your internal network(s), and you want to integrate these scanners with Prismthe platform, please refer to article Connecting Internal Vulnerability Scanning Solutions |
| Note |
|---|
IMPORTANT NOTE: A ‘standalone' Nessus Professional Scanner is operated and administered independently of Tenable Security’s centralised management platforms such as Tenable.SC or Tenable.IO. Nessus scanning engines that are deployed, linked and controlled via Tenable.IO or Tenable.SC are not supported with this scanner integration method; please refer to Tenable.IO WAS & and Tenable.IO VM section further down in this article. |
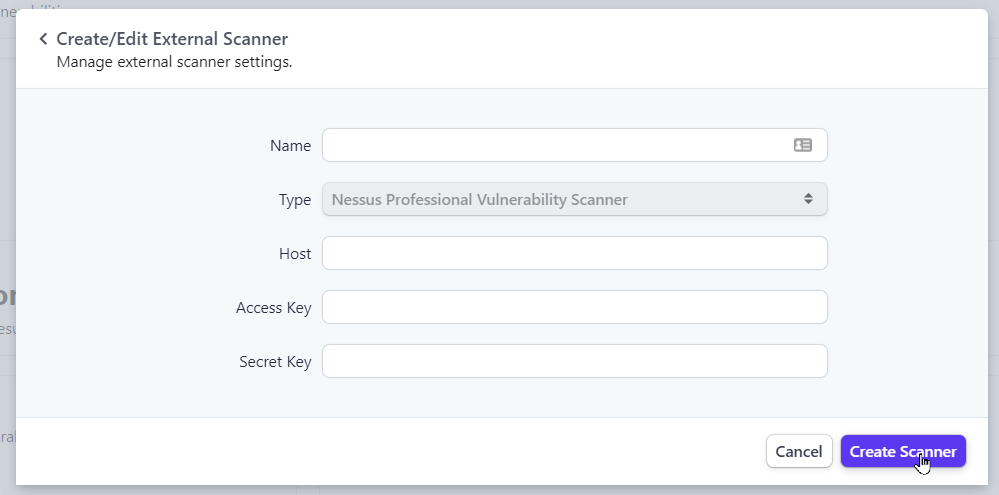
All fields below are mandatory:
Name - a meaningful name/ID of the scanner within your Prism platform tenant
Type - leave this defined as Nessus Professional Vulnerability Scanner
Host - this must be the full URL to the Nessus Professional Web Console. The full protocol and TCP port definition must also be include in the URL - e.g. <https://<scanner_ip>:8834>
Access Key - taken/copied from the Nessus Web Console
Secret Key - taken/copied from the Nessus Web Console
Select Create Scanner once all information has been populated.
Prism The platform will then perform a check with the defined scanner to establish if the supplied configuration is valid.
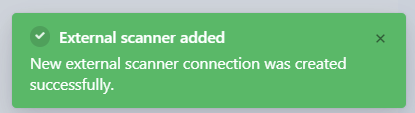
For valid configurations Prism the platform will display a green banner and return to the previous Nessus Vulnerability Scanners window.
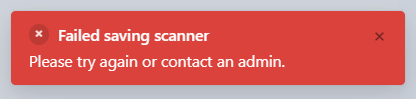
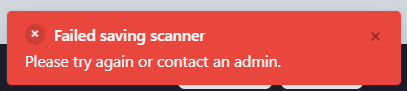
Should Prism the platform return a red banner during the configuration checks, this indicates an error with communicating/validating the scanner configuration. Please check your Host definition and API credentials are correct and then select Create Scanner again.
Please ensure you select Save Changes to commit the scanner configuration and making the scanner available within your Prism the platform tenant for importing results.
You will need to repeat the above steps for each additional Nessus Professional scanner that you wish to integrate with Prismthe platform.
Tenable.IO WAS & Tenable.IO VM
Prism The platform will communicate with Tenable Security’s cloud-based API to retrieve scan results from your Tenable.IO WAS and/or Tenable.IO VM platforms
When integrating Prism the platform with Tenable.IO WAS and/or Tenable.IO VM, you must first configure appropriate API credentials and API permissions within your Tenable.IO platform(s). This API configuration is beyond the scope of this article. Please refer to https://docs.tenable.com/tenableio/Content/Settings/GenerateAPIKey.htm and https://docs.tenable.com/tenableio/Content/Settings/AccessGroups.htm
| Info |
|---|
NOTE: If you intend on integrating both your Tenable.IO VM and Tenable.IO WAS platforms with Prismthe platform, you are must define separate Tenable.IO scanners within Prismthe platform . For example, you will need to define an external Tenable.IO WAS scanner to retrieve your web application scanning results, and define another external Tenable.IO VM scanner to retrieve your vulnerability assessment scanning results. This is necessary since the Tenable.IO API differs between their VM and WAS platforms. |
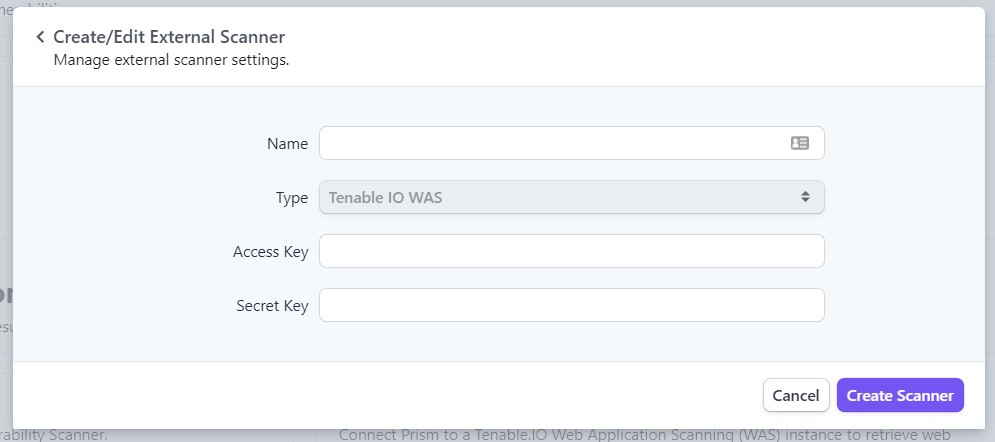
All fields below are mandatory:
Name - a meaningful name/ID of the scanner within your Prism platform tenant.
Type - leave this defined as Tenable.IO WAS or Tenable.IO VM
Access Key - taken/copied from the Tenable.IO platform
Secret Key - taken/copied from the Tenable.IO platform
Select Create Scanner once all information has been populated.
Prism The platform will then perform a check with the defined scanner to establish if the configuration supplied is valid.
For valid configurations Prism the platform will display a green banner and return to the previous Nessus Vulnerability Scanners window.
Should Prism the platform return a red banner during the configuration checks, this indicates an error with communicating/validating the scanner configuration. Please check your Host definition API credentials are correct and then select Create Scanner again.
Please ensure you select Save Changes to commit the scanner configuration and make it available within your Prism platform tenant.
Burpsuite Enterprise
Prism The platform will communicate with your Burpsuite Enterprise Manager API to retrieve web application scan results.
When integrating Prism the platform with your Burpsuite Enterprise platform you must first configure appropriate API credentials and API permissions within your Burpsuite Enterprise platform. Whilst the Burpsuite Enterprise API configuration is beyond the scope of this article, further information on the Burpsuite Enterprise API can be found here
| Info |
|---|
NOTE: Since all web application scan results performed by Burpsuite Enterprise are centrally stored on the Burpsuite Enterprise Manager, Prism the platform only needs to connect to the API via the Burpsuite Enterprise Manager |
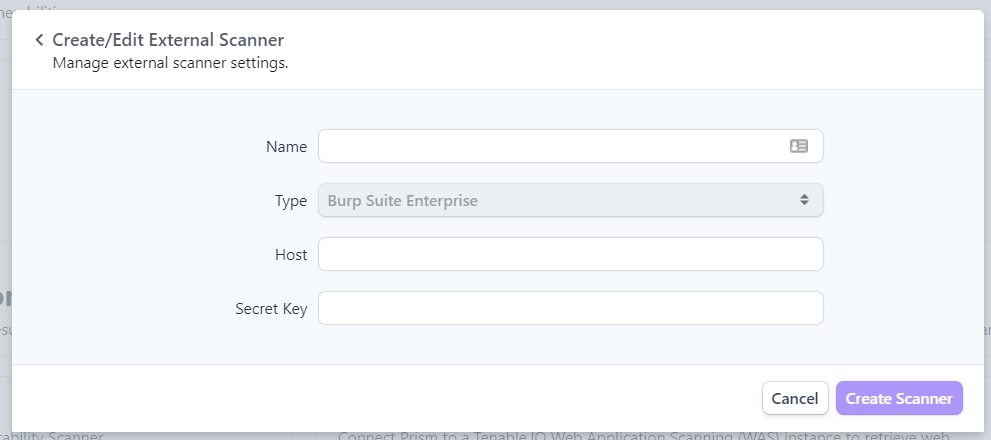
All fields below are mandatory:
Name - a meaningful name/ID of the scanner within your Prism platform tenant.
Type - this field is pre-defined and cannot be changed
Host - the full URL of your Burpsuite Enterprise platform (e.g. https://mybse.mycompany.com)
Secret Key - taken/copied from relevant API-enable user account within your Burpsuite Enterprise platform
Select Create Scanner once all information has been populated.
 | 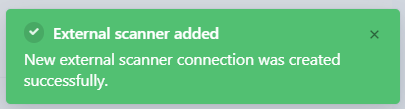 |
For valid configurations Prism the platform will display a green banner and return to the previous Burpsuite Enterprise Scanners window.
Should Prism the platform return a red banner during the configuration checks, this indicates an error with communicating/validating the API configuration. Please check your Host definition and API credentials are correct and then select Create Scanner again.
Qualys VM
Prism The platform will communicate with the Qualys API to retrieve scan results from your Qualys instance/platform.
When integrating Prism the platform with the Qualys API, you must first configure appropriate API credentials and API permissions within your Qualys platform. Whilst the Qualys API configuration is beyond the scope of this article, further information on the Qualys API can be found here
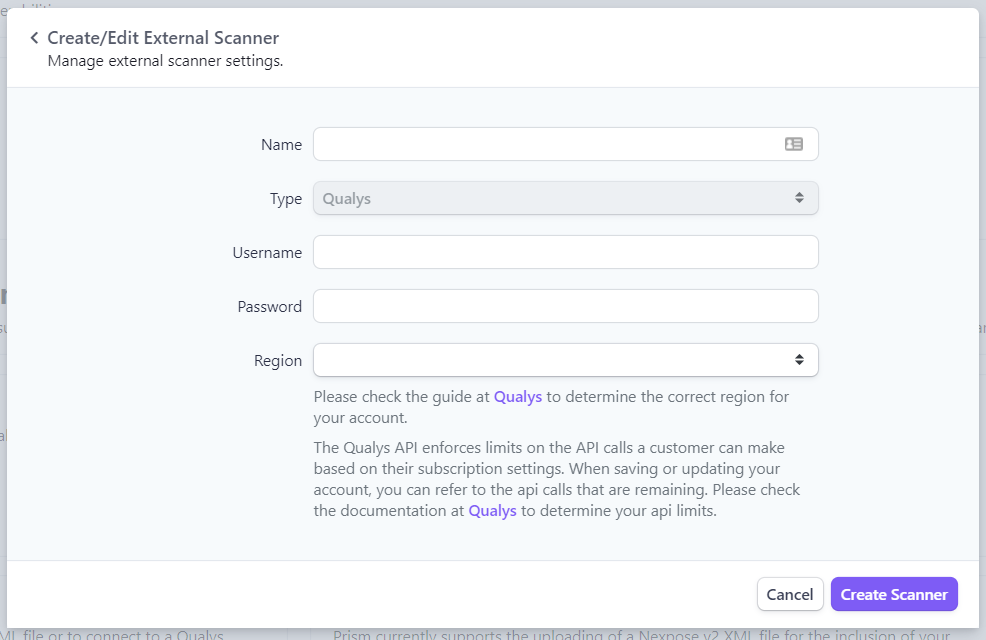
All fields below are mandatory:
Name - a meaningful name/ID of your Qualys instance within your Prism platform tenant.
Type - this field is pre-defined and cannot be changed
Username - the username of the API-enabled user from your Qualys instance
Password - the password of the API-enabled user from your Qualys instance
Region - the region in which you Qualys instance is hosted.
Select Create Scanner once all information has been populated.
| |
For valid configurations Prism the platform will display a green banner and return to the previous Qualys Scanner window.
Should Prism the platform return a red banner during the configuration checks, this indicates an error with communicating/validating the API configuration. Please check your username, password and region details are correct and then select Create Scanner again.
Rapid7 InsightVM Security Console
When integrating Prism the platform with an Internet-facing instance of Rapid7’s InsightVM Security Console the following information must be supplied to Prism the platform to enable scan results to be retrieved from the InsightVM Security Console. Prism The platform will communicate with the InsightVM Security Console API to retrieve scan results.
| Info |
|---|
The guidance in this section assumes you have an Internet-facing InsightVM Security Console deployed. If you have deployed InsightVM Security Console on your internal network(s), and you want to integrate InsightVM Security Console with Prismthe platform , please refer to article Connecting Internal Vulnerability Scanning Solutions |
| Note |
|---|
IMPORTANT NOTE: Rapid7’s cloud-based Insight Platform does not provide the necessary API functionality for Prism the platform to retrieve vulnerability results on a per-scan basis. As such, even if your on-premise InsightVM Security Console is ‘linked’ to a cloud-based instance of the Insight Platform, Prism the platform must still have access to the on-premise InsightVM Security Console API. If you have an on-premise deployment of InsightVM Security Console, please refer to article Connecting Internal Vulnerability Scanning Solutions |
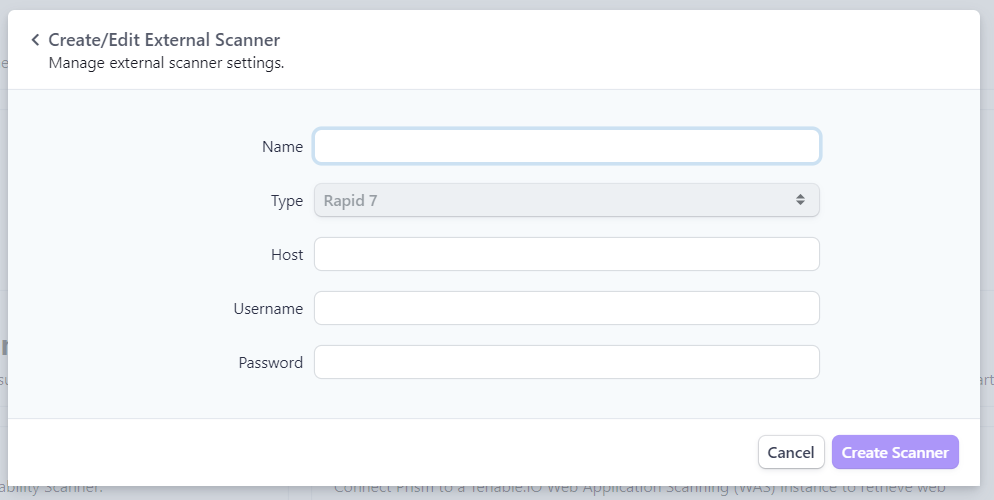
All fields below are mandatory:
Name - a meaningful name/ID of the InsightVM Security Console within your Prism platform tenant
Type - leave this pre-defined as Rapid7
Host - this must be the full URL to the InsightVM Security Console. The full protocol and TCP port definition must also be include in the URL - e.g. <https://<scanner_ip>:3780>
Username - the username for your InsightVM Security Console account
Password - the password for your InsightVM Security Console account
Select Create Scanner once all information has been populated.
Prism The platform will then perform a check with the defined InsightVM Security Console to establish if the supplied configuration is valid.
For valid configurations Prism the platform will display a green banner and return to the previous Rapid 7 Scanners window.
Should Prism the platform return a red banner during the configuration checks, this indicates an error with communicating/validating the InsightVM Security Console configuration. Please check your Host definition and username/password credentials are correct and then select Create Scanner again.
Please ensure you select Save Changes to commit the scanner configuration and making the InsightVM Security Console available within your Prism the platform tenant for importing results.
Importing Results into
Prismthe platform
When accessing either the quick importer or manual importing process, see Importing Third Party Results (Issues) for further details, you will now be able to select the scanners that you have setup as the importing type and select the scan you wish to import.